
The Myth of Universal Reglazing Prep
At Bathtub Reglazing On The Hudson, our team constantly encounters the widespread myth that updating an outdated bathroom is just a matter of spraying a heavy-duty paint over whatever happens to be on the walls. If you are researching Glazing Over Cultured Marble vs. Ceramic Tile Surrounds: Adhesion Differences, you already know that a one-size-fits-all approach is a recipe for disaster. A quick coat of generic enamel might look fine on day one, but in our experience, without substrate-specific preparation, that new finish will inevitably peel, bubble, or flake away. As homeowners plan mid-fall pre-holiday bathroom updates, we often see the pressure to get guest bathrooms looking perfect lead to rushed decisions and a misunderstanding of what professional refinishing actually requires.
The secret to permanent adhesion lies entirely in recognizing the chemical and structural differences between your existing wall materials. You cannot treat a slick, continuous manufactured marble surface the same way you treat a highly porous, segmented tile wall. Understanding these structural differences is the critical decision point before starting any bathroom renovation project. For a comprehensive look at how these surfaces are managed, you can explore the options for a bathtub tile surround or learn more about a dedicated bathroom tile reglaze. By tailoring our preparation process to the specific material in your home, our professionals ensure a durable, beautiful finish that easily withstands daily use.
Why the Underlying Substrate Dictates Adhesion Success
To understand why a generic approach fails, we first explain to our clients how coatings stick to surfaces. In the professional refinishing industry, success relies heavily on mechanical adhesion. This is the process where a liquid coating flows into microscopic scratches, pores, and valleys on a surface, locking itself into place as it cures and hardens. If a surface is completely smooth at a microscopic level, the new coating has nothing to grab onto. It simply sits on top, waiting for the slightest impact or temperature change to break its weak surface tension.
The Mechanics of a Permanent Bond
Different materials present entirely different landscapes at the microscopic level. Continuous slick surfaces behave very differently under the stress of hot water and structural shifting compared to segmented, porous surfaces. When our technicians look at the bathrooms inside many older Peekskill and Hudson Valley area homes, we find a wide variety of original materials, each reacting to moisture and heat in its own unique way. If a bonding agent is applied incorrectly, the thermal expansion from a hot shower will cause the topcoat to sheer right off the substrate.
The true cause of failure: The vast majority of premature peeling issues we are called in to fix are caused by incorrect surface preparation, not a defect in the topcoat itself. High-quality acrylic urethanes are incredibly durable, but they are only as strong as the bond holding them to the wall. This is precisely why we see DIY "how-to" kits consistently fail. Hardware store kits take a one-size-fits-all approach to complex chemical bonding, relying on basic sanding or weak household cleaners that simply cannot alter the molecular profile of tough bathroom substrates.
Cultured Marble: Creating a Mechanical Bond on Slick Surfaces
Cultured marble is a manufactured product made from a blend of stone particles and resins, topped with a clear, incredibly tough gel coat. This gel coat is designed specifically to be non-porous, waterproof, and highly resistant to stains. While these are great qualities for a shower wall, they create a massive hurdle for refinishing. Our team knows firsthand that the surface is so slick and dense that standard mechanical abrasion—like sanding with heavy-grit paper—is completely insufficient to rough it up.
The problem with surface tension: If you try to apply a new glaze directly over 1980s and 1990s cultured marble surrounds without altering that gel coat, the new finish will suffer from immediate sheet peeling. Because there are no microscopic pores for the liquid glaze to penetrate, the entire layer of new material acts like a single sheet of plastic resting on a sheet of glass. The moment moisture or steam works its way under an edge, the entire panel of glaze can peel off in one massive sheet.
The Chemical Etching Solution
Because sanding cannot adequately penetrate the dense gel coat of cultured marble, our professionals rely on specialized chemical etching. This process uses industrial-grade acids to safely dissolve the uppermost microscopic layer of the gel coat, creating millions of tiny craters and pores. Once the surface is etched and neutralized, we apply a specialized silane bonding agent.
Silane acts as a molecular bridge. One end of the silane molecule bonds chemically to the inorganic minerals in the cultured marble, while the other end bonds to the organic polymers in the new acrylic topcoat. This intensive chemical process ensures the new glaze fuses permanently to the wall rather than just sitting on top of it. It transforms a slick, unpaintable surface into a highly receptive substrate, guaranteeing that the final finish will withstand decades of daily showers.
Ceramic Tile: Conquering Porosity and Grout Lines
Ceramic tile presents the exact opposite structural challenge compared to cultured marble. While the face of a ceramic tile features a smooth, fired glaze, the wall itself is interrupted by hundreds of feet of highly porous grout lines. We always remind homeowners that the primary adhesion obstacle on a tile wall is not a lack of porosity, but rather what is hiding inside that porosity.
Over decades of use, grout lines act like rigid sponges. They absorb massive amounts of soap scum, body oils, hard water minerals, and trapped moisture. If a new glaze is applied over these contaminants, the coating will fail to bond at the grout lines, leading to localized chipping, bubbling, and flaking that eventually spreads to the face of the tiles. This is heavily contrasted with the sheet-peeling risk of 1980s and 1990s cultured marble surrounds; tile failures tend to start at the seams.
To overcome these challenges, our technicians utilize a rigorous, multi-step mechanical and chemical preparation process. This is not a DIY weekend project; it requires industrial solvents and specialized knowledge to execute safely and effectively:
1. Deep Degreasing: Our crews scrub industrial-grade degreasers into the grout lines to break down decades of polymerized body oils and soap scum that standard bathroom cleaners cannot touch.
2. Acid Neutralization: We treat the surface to dissolve hard water scale and calcium deposits, ensuring the microscopic pores of the grout and the tile glaze are completely open and receptive.
3. Grout Repair and Floating: Any loose, crumbling, or missing grout is removed and repaired by our team. The lines are often "floated" to create a more uniform, slightly shallower profile that accepts the new topcoat evenly.
4. Bonding Agent Application: A specialized wiping primer is applied to chemically link the new urethane coating to the dense ceramic glaze of the tile face.
The Danger of Trapped Moisture
One of the most critical steps in preparing ceramic tile is managing moisture. Water trapped deep inside older grout lines will inevitably attempt to escape. If a waterproof glaze is applied over damp grout, the expanding water vapor will push against the back of the new coating, causing the glaze to lift and bubble. When homeowners ask us why bathroom tiles pop off around the tub edge, this phenomenon is often the hidden culprit. Our professional refinishers utilize industrial drying equipment and specialized sealers to ensure the entire wall matrix is bone-dry before any topcoat is ever applied.
Side-by-Side Comparison: Prep Requirements and Adhesion Factors
Understanding the fundamental differences between these two common bathroom materials highlights exactly why specialized preparation is non-negotiable. Whether our team is dealing with a seamless manufactured surround or a traditional tiled wall in Peekskill and Hudson Valley area homes, the path to permanent adhesion requires diagnosing the substrate correctly.
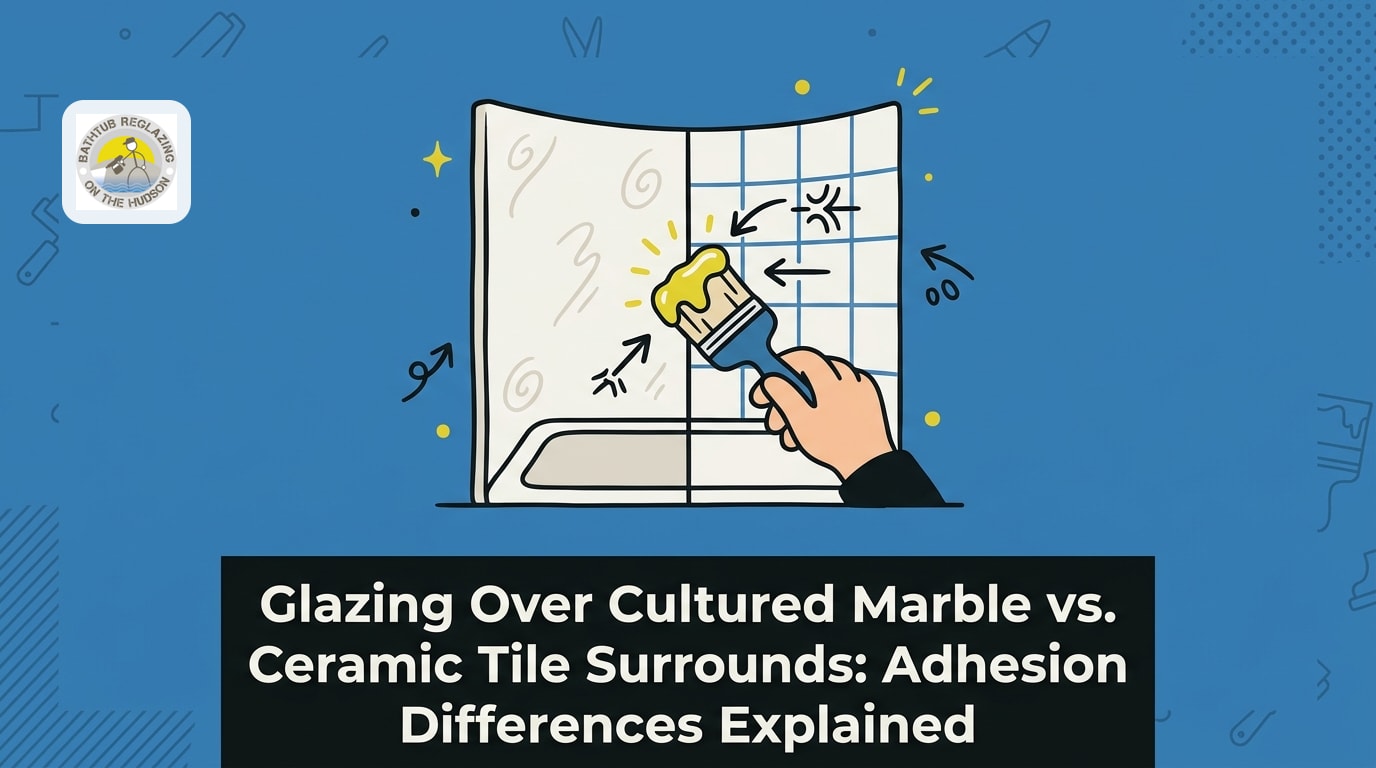
• Surface Texture — Cultured Marble Surrounds: Continuous, slick manufactured gel coat — Ceramic Tile Surrounds: Segmented fired glaze interrupted by porous grout
• Primary Adhesion Obstacle — Cultured Marble Surrounds: Extreme lack of porosity; surface is too dense — Ceramic Tile Surrounds: Deeply embedded oils, soap scum, and moisture in grout
• Professional Prep Method — Cultured Marble Surrounds: Chemical acid etching and silane bonding agents — Ceramic Tile Surrounds: Intensive deep degreasing, neutralizing, and grout repair
• Failure Risk if Prep is Skipped — Cultured Marble Surrounds: Immediate, large-scale sheet peeling — Ceramic Tile Surrounds: Localized chipping and bubbling starting at the grout lines

How Fall Heating Cycles Impact the Curing Process
Surface preparation is only the first half of the adhesion equation; the curing environment dictates the rest. As our team schedules mid-fall pre-holiday bathroom updates, we find that homeowners often overlook how the changing seasons affect indoor chemistry. Hudson Valley and Peekskill NY experience distinct seasonal indoor heating cycles and varying humidity in October, which uniquely affect the curing times for bonding agents and topcoats.
When you turn on your indoor heating system in the fall, the ambient indoor humidity drops drastically. This sudden shift in the indoor climate directly affects the "flash time"—the rate at which the solvents in the glaze evaporate. Porous tile and slick marble react differently to these rapid humidity changes during the critical 24-hour cure window. Because cultured marble is non-porous, the coating relies entirely on ambient air to outgas its solvents. If the air is too dry and warm from a heating vent, the surface of the glaze can skin over too quickly, trapping microscopic solvent bubbles underneath.
Conversely, the grout lines in ceramic tile can occasionally pull moisture from the air if humidity spikes, interfering with the cross-linking of the urethane molecules. Our professionals closely monitor these seasonal indoor climate shifts. We adjust our ventilation equipment, modify the chemical reducers in our spray mixtures, and control the ambient room temperature to ensure the glaze cures at the exact right speed. This meticulous climate control is a major reason why our professional bathtub reglazing in Westchester County consistently outlasts generic DIY applications.
Preventing Peeling and Bubbling: The Professional Difference
Long-lasting adhesion is never an accident; it is the direct result of precise, material-specific chemistry and rigorous preparation. When we are called to fix a bathroom wall that is bubbling, flaking, or peeling in large sheets, we are almost always looking at the aftermath of a generic paint job or incorrect prep work. Often, this happens when general house painters attempt to reglaze a bathroom using standard primers, completely misdiagnosing the chemical needs of the substrate.
Our expertise at Bathtub Reglazing On The Hudson in specialized preparation techniques tailored to specific substrates ensures lasting adhesion without peeling. Diagnosing the wall material correctly—whether it is a dense 1990s cultured marble panel or a heavily soiled 1950s ceramic tile matrix—is the crucial first step. By applying the exact right bonding protocol, neutralizing contaminants, and managing the ambient curing environment, our professionals eliminate the variables that cause failures.
For homeowners in Peekskill and Hudson Valley area homes, this tailored approach guarantees a permanent bond that easily withstands the rigors of daily life. A correctly prepared and professionally glazed surround will outlast generic spray applications by decades, proving that when our team handles the prep work, reglazing is a reliable, long-lasting update.
Schedule Service
Thank you! Your submission has been received!
Oops! Something went wrong while submitting the form.
Other Blogs
Customer Testimonials
Hear what customers are saying about our professional refinishing and outstanding results.

Can’t say enough about Maurice. From start to finish great communication his work is incredible and he stands by it very competitive pricing just all-around good guy the work was done quick and kept very clean and our brand new bathroom
Joey N.
We had a large piece of bathtub glaze chip off. Maurice came in and did a fantastic job. It now looks and works better than before. He went above and beyond the contract by cleaning up the old chipped grout between the tub and the tiles and replacing with brand new.
Bozidar J.
Maurice did a great job on my tub. It looks brand new.
Steven S.