The Ultimate Homeowner's Checklist: Preparing for Professional Bathtub Reglazing
So, you've decided to revitalize your bathroom with professional bathtub reglazing – an excellent choice for achieving a like-new finish without the cost and hassle of a full replacement. At Hudson Tubs, we know that proper preparation is key to ensuring the durable, high-gloss finish you expect. A little effort beforehand guarantees a smooth process and stunning, long-lasting results.This checklist is designed specifically for homeowners preparing for a professional service. Following these steps helps our expert technicians work efficiently and ensures the best possible adhesion and finish for your tub, tiles, or sink.
Before You Start
Confirm with Your Reglazing CompanyWhile this guide covers standard preparations, always double-check specific requirements with your chosen provider (like Hudson Tubs!).
Key things to confirm include:-
- Hardware Removal: Who is responsible for removing fixtures like the faucet, spout, drain cover, and overflow plate?
- Caulk Removal: Do they require you to remove old caulk beforehand?
- Specific Cleaning Instructions: Any particular products to use or avoid?
Your Pre-Reglazing Timeline:
Plan Ahead-
- 1 Week Before: Finalize your appointment. Tackle any necessary plumbing repairs (fix those leaks!). Confirm specific preparation details with your provider.
- 2-3 Days Before: Perform a thorough cleaning of the tub and surrounding area. Remove old caulk if required.
- 1 Day Before: Completely clear the bathroom of all personal items. Protect adjacent areas if desired.
- Day Of: Do a final check, ensure clear access for the technicians, and make arrangements for ventilation and occupants (pets, children).
The Essential Pre-Reglazing Checklist
Follow these steps to ensure your bathroom is perfectly prepped for reglazing day.
1. Clear the Clutter:
Create a Blank CanvasTechnicians need unobstructed access to the work area. Remove everything from the tub and immediate surroundings:
- Personal Items: Shampoos, conditioners, soaps, loofahs, razors, bath toys.
- Linens: Towels, bath mats, rugs.
- Shower Curtains/Doors: Remove curtains and rods. If you have glass doors, confirm removal requirements with your provider – sometimes they can be worked around, but removal is often preferred.
- Surrounding Areas: Clear countertops, toilet tanks, and floors near the tub.
- Wall Hangings: Remove pictures, shelves, or decorative items near the work zone.
- Valuables: Store any valuable or delicate items safely away from the bathroom area to protect them from dust.
2. Clean the Tub & Surround:
Prep the SurfaceWhile the professionals handle the final deep cleaning and surface etching, a good initial clean is helpful.
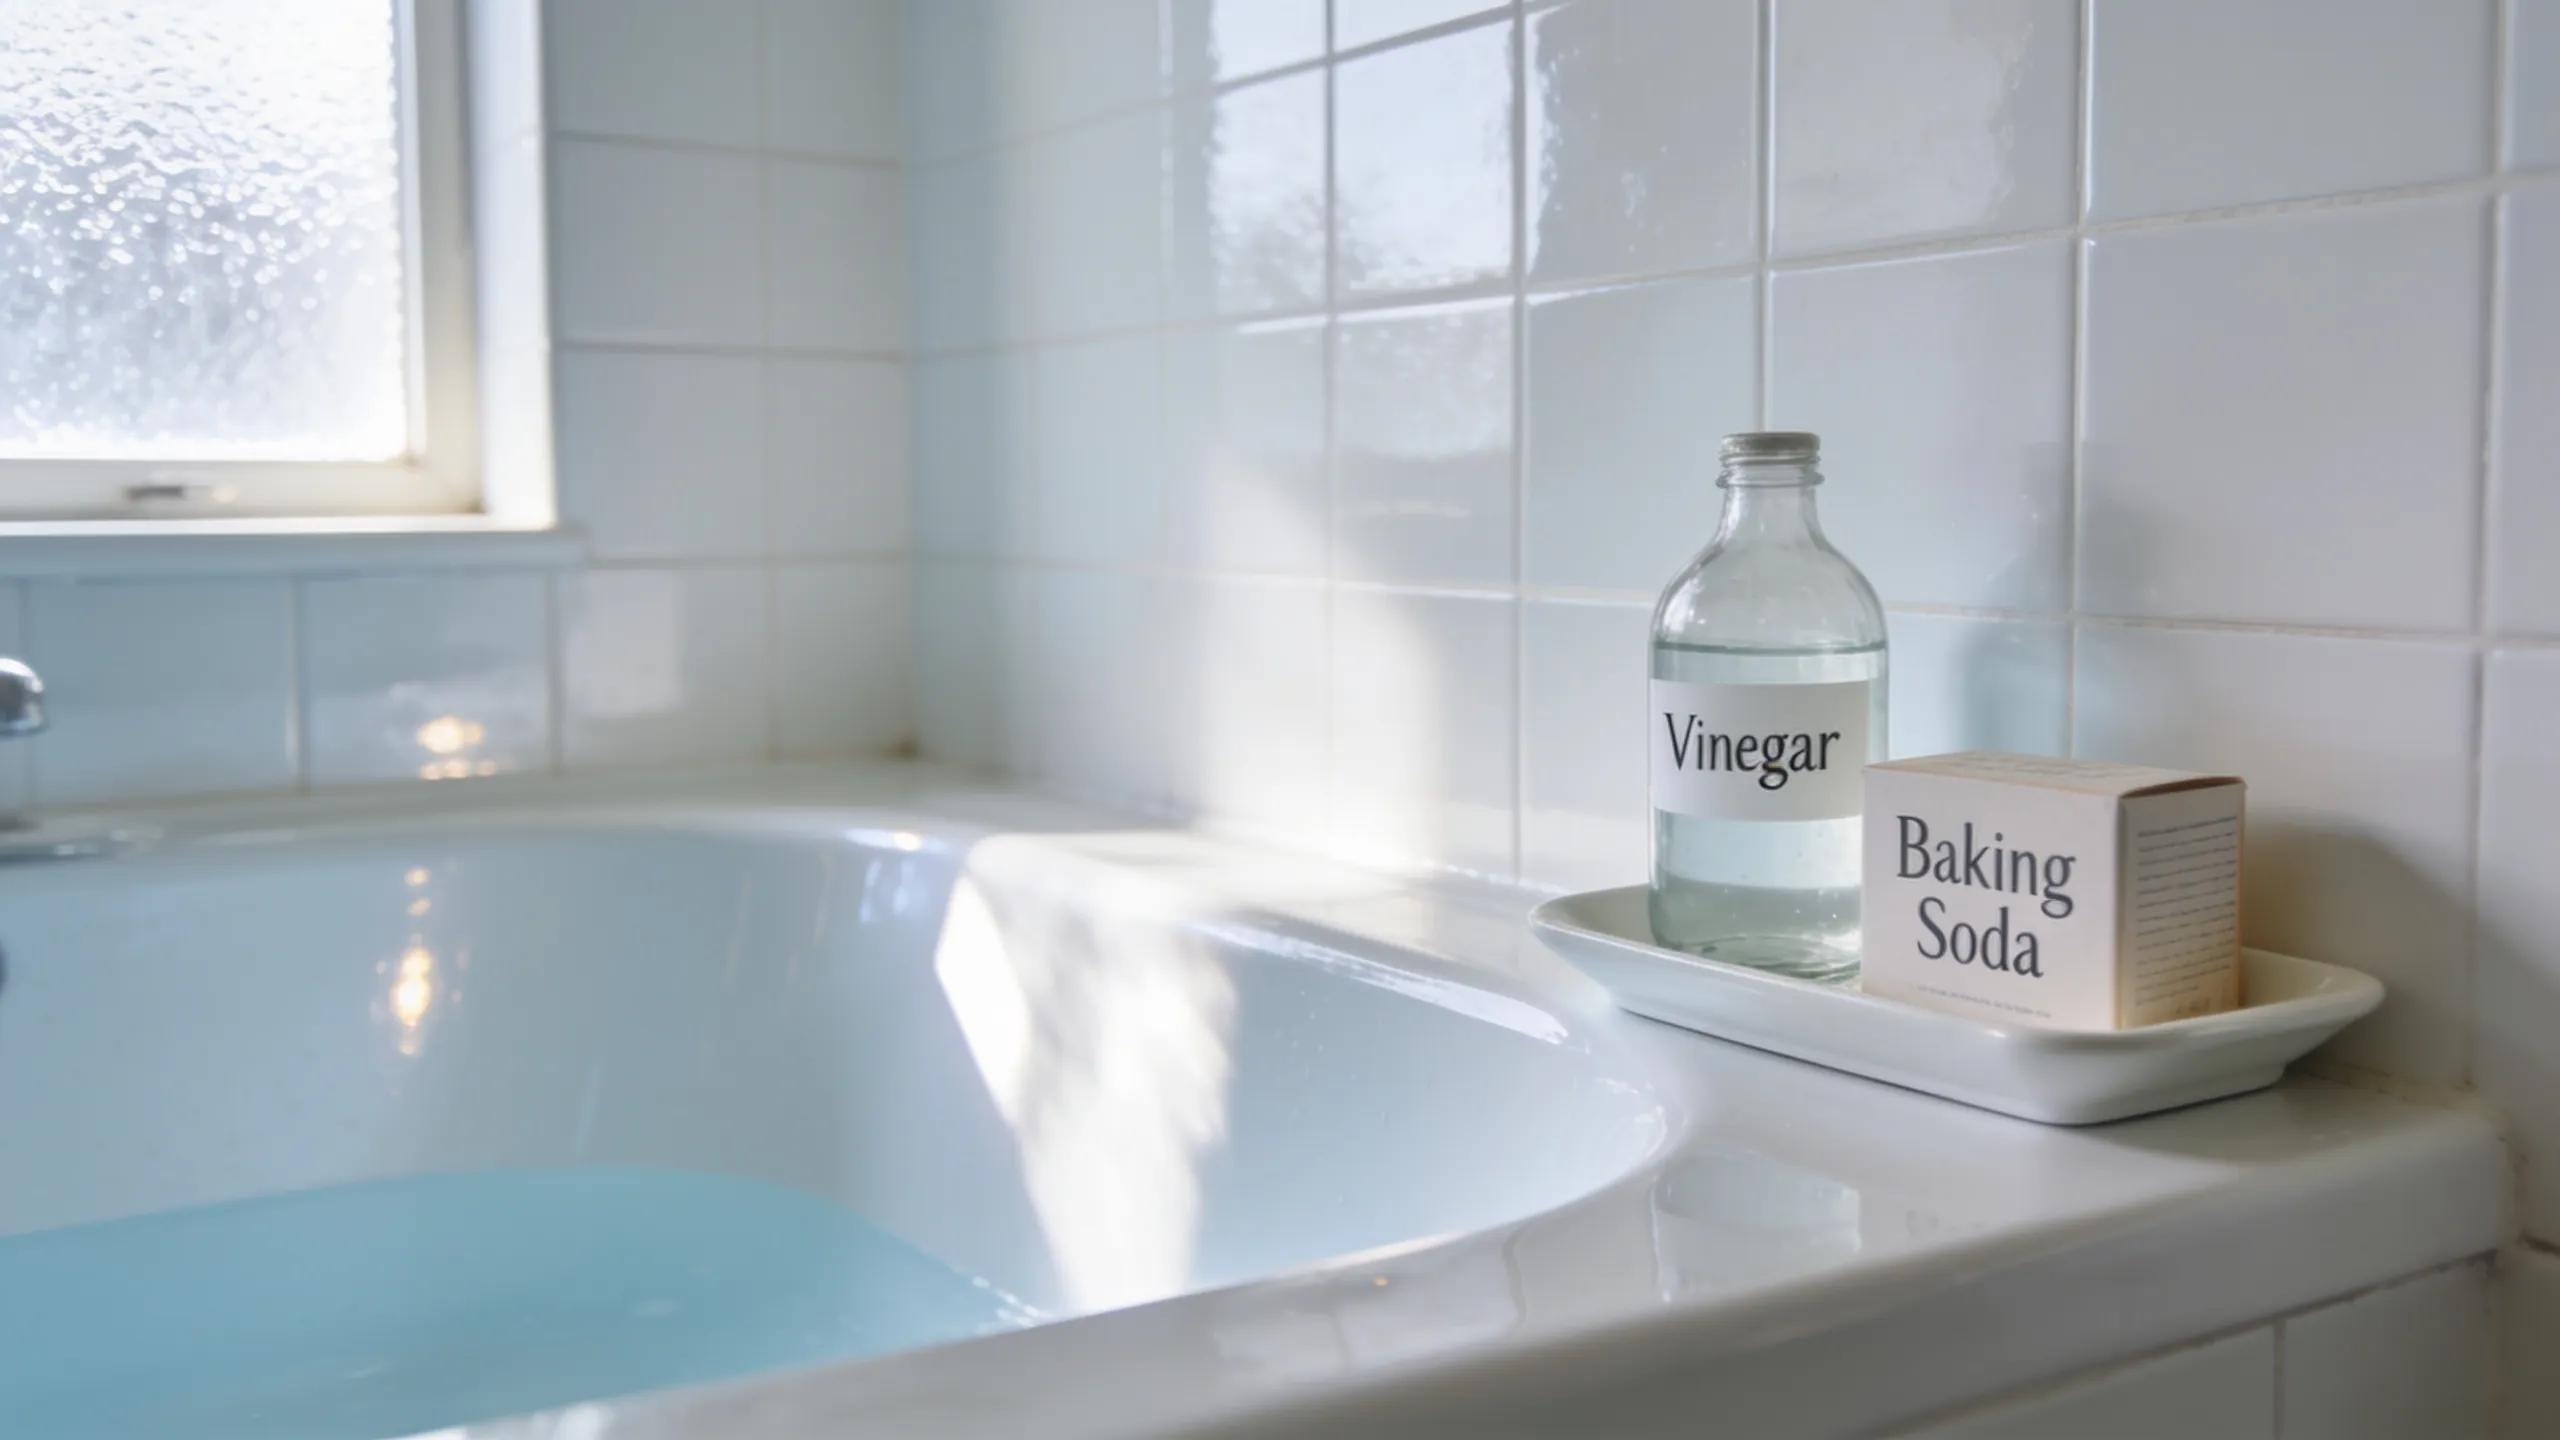
- Thorough Scrub: Clean the tub, tiles, and sink (if being reglazed) focusing on removing soap scum, oils, and grime. Use standard bathroom cleaners, but avoid waxes or silicone-based products in the days leading up to the appointment. Rinse thoroughly.
- Focus Areas: Pay extra attention to corners, edges, and around the drain.
- Remove Old Caulk: If requested by your provider, carefully cut and scrape away old caulk lines around the tub and tiles. This allows for a clean edge and proper sealing after reglazing. Why? Old silicone caulk prevents the new finish from adhering properly.
3. Fix Those Leaks!
Absolutely Critical! This is non-negotiable for a lasting finish.
- Check Everything: Inspect the faucet/spout, showerhead, and drain for any drips or leaks, no matter how small.
- Repair Promptly: Schedule plumbing repairs to be completed before the reglazing appointment. Why is this CRITICAL? Even a tiny drip of water onto a newly reglazed surface before it fully cures can ruin the finish, causing spots, peeling, and requiring costly repairs.
4. Handle the Hardware:
Check Requirements
- Fixtures: This includes the faucet/spout, handles, drain cover, and overflow plate.
- Confirm Responsibility: As mentioned, verify with your reglazing company whether you or their technicians are responsible for removing and reinstalling these items. Attempting to remove fixtures yourself after reglazing can easily chip or damage the new finish if not done carefully.
5. Prepare the Environment:
Ensure Access & Utilities
- Clear Path: Make sure there’s a clear walkway from the entrance of your home to the bathroom for technicians and their equipment.
- Utilities: Confirm that electricity and hot/cold running water are available in the bathroom. Technicians need these for their process.
- Ventilation: Identify windows that can be opened or ensure the bathroom exhaust fan is working. Professional reglazing involves strong odors, and proper ventilation is essential during and after the service.
6. Protect Your Home & Family:
Safety First! Professional reglazing uses strong chemicals and coatings.
- Adjacent Areas: While technicians will use masking materials, you might want to put down extra drop cloths on flooring leading to the bathroom.
- Occupants & Pets: Plan for children, pets, and individuals sensitive to strong odors to be away from the immediate area (or potentially out of the house) during the service and the initial curing period (usually 24 hours). The fumes are strong during application and dissipate as the finish cures.
- Post-Service Ventilation: Keep the area well-ventilated (using fans and open windows, weather permitting) after the technicians leave to help dissipate remaining odors as the surface cures.
What NOT to Do Before Reglazing
- Don't use abrasive cleaners, waxes, or silicone-based products on the tub right before the appointment unless specifically instructed.
- Don't schedule other contractors (plumbers, painters) to work in the bathroom on the same day.
- Don't ignore leaks – get them fixed!
- Don't leave personal items or clutter in the work area.
Day of the Appointment:
Final Steps
- Do a quick run-through of this checklist.
- Ensure the path is clear and utilities are working.
- Communicate any last-minute questions or concerns to the arriving technicians.
What Happens Next?
Patience is Key
The reglazing process itself typically takes several hours. Afterward, the most crucial part begins.
Curing.
- Drying Time: The surface needs to cure undisturbed, usually for 24-48 hours (your provider will give specific instructions).
- DO NOT TOUCH: Avoid touching the surface or allowing water to contact it during this critical curing period.
- Follow Care Instructions: Adhere strictly to the post-reglazing cleaning and maintenance guidelines provided by your company to ensure the longevity of your beautiful new finish.
Ready for a Flawless Finish?
Proper preparation is a partnership between you and your reglazing professionals. By following this checklist, you help ensure that companies like Hudson Tubs can deliver the high-quality, durable, and beautiful finish your bathroom deserves. Investing a little time upfront pays off with years of enjoyment from your revitalized tub.
Frequently Asked Questions (FAQs)
Q1: Why is fixing leaks so important before reglazing?
A: Water is the enemy of an uncured reglazing finish. Even small, slow drips can cause spots, bubbles, or peeling, compromising the bond and the look of the new surface. Repairs must be done beforehand to guarantee the durability promised by professional services like Hudson Tubs.
Q2: Should I remove the bathtub fixtures (faucet, drain cover) myself?
A: It depends on your reglazing provider's policy. Some companies include fixture removal/reinstallation, while others require the homeowner to handle it. Always confirm this beforehand. Removing fixtures incorrectly after reglazing can easily damage the new finish, so it’s best to know the plan in advance.
Q3: How long will the reglazing process take in my bathroom?
A: The actual hands-on work typically takes 3-6 hours, depending on the tub's condition and whether tile surrounds are included. However, remember to factor in the crucial curing time afterward, which is usually 24-48 hours, during which the tub cannot be used.
Q4: Are the reglazing fumes strong, and what precautions should I take?
A: Yes, the professional reglazing process involves industrial-strength coatings, and the fumes are quite strong during application and for some hours afterward. Technicians use exhaust fans to ventilate the area. It's highly recommended that pets, children, pregnant women, and individuals with respiratory sensitivities stay clear of the work area and ideally are not in the home during the service and initial ventilation period. Keep the area well-ventilated after the service is complete.
Q5: How clean does my tub need to be before the technicians arrive?
A: Give it a thorough cleaning, focusing on removing visible soap scum, body oils, and grime. Use standard non-abrasive bathroom cleaners and rinse well. While you don't need hospital-grade sterility (the pros will do a final chemical cleaning and etching), removing the surface layer of residue helps ensure the best results. Avoid using products containing silicone or wax in the days leading up to the appointment.
Schedule Service
Thank you! Your submission has been received!
Oops! Something went wrong while submitting the form.
Other Blogs
Customer Testimonials
Hear what customers are saying about our professional refinishing and outstanding results.

Can’t say enough about Maurice. From start to finish great communication his work is incredible and he stands by it very competitive pricing just all-around good guy the work was done quick and kept very clean and our brand new bathroom
Joey N.
We had a large piece of bathtub glaze chip off. Maurice came in and did a fantastic job. It now looks and works better than before. He went above and beyond the contract by cleaning up the old chipped grout between the tub and the tiles and replacing with brand new.
Bozidar J.
Maurice did a great job on my tub. It looks brand new.
Steven S.